Introduction
Note
This documentation describes my personal NixOS configuration. It is highly tailored to my specific hardware and workflow.
This repository serves as a central hub for all my NixOS and Home Manager configurations. It is built with modularity and reproducibility in mind, allowing me to manage multiple devices from a single source of truth.
Important
While you are free to explore and copy parts of this configuration, be aware that the
hardware-configuration.nixfiles are tied to my specific devices. Using them directly on your machine will likely cause boot issues.
However, you are more than welcome to use individual modules, concepts, or approaches in your own setup. Feel free to yank anything you find useful!
Visuals
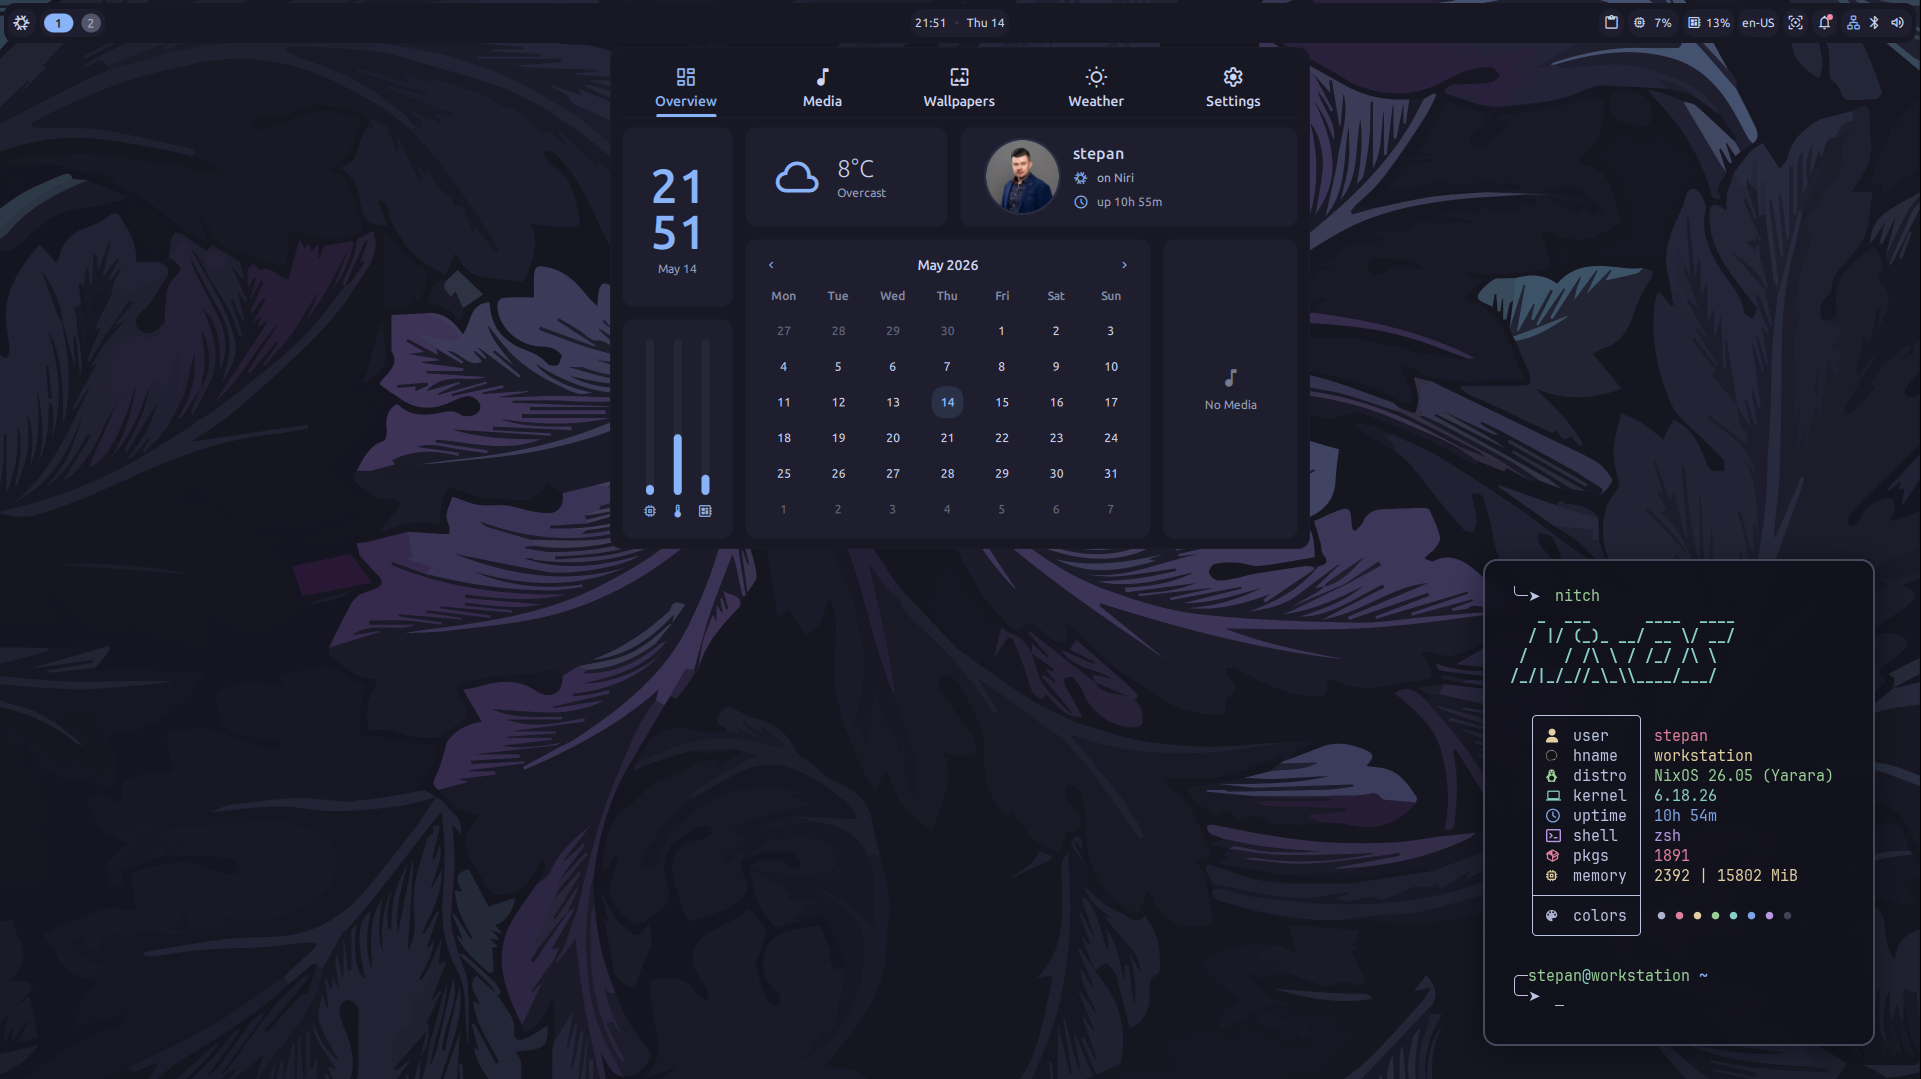
Core Stack
The current desktop environment is built around modern Wayland-native tools and highly customized CLI utilities.
| Category | Component |
|---|---|
| Display Manager | greetd with mdgreet |
| Compositor | Niri (Scrollable tiling Wayland compositor) |
| Desktop Shell | Dank Material Shell (Bar, Control Center, etc.) |
| Shell | Zsh |
| Terminals | Kitty, Alacritty |
| File Managers | Yazi (CLI), Nautilus (GUI) |
| Editors | Neovim (via nvchad), Zed, VS Code |
| Browsers | Firefox, Google Chrome |
| Secrets | sops-nix with age |
| Theming | Catppuccin (Mocha variant) |
Repository Structure
hosts/: Machine-specific configurations and hardware definitions.homes/: User-specific Home Manager profiles and dotfiles.modules/: Shared logic for desktop, services, and system defaults.raw/: Raw configuration files and assets used by various programs.secrets/: Encrypted sensitive data managed via SOPS.
Architecture & Modules
The configuration is structured to maximize code reuse while allowing for host-specific customizations. This is achieved through a clear separation between Option Definition and Implementation Logic.
Foundation
Note
At its core, this project follows the standard NixOS module system. All configurations are built using native attribute sets and modules from the NixOS Unstable branch.
While I use custom abstractions to keep the host configurations clean, everything eventually resolves to standard NixOS options. You can find the full list of available native options at the official NixOS Options Search.
The modules Directory
The modules directory contains shared configurations that define custom options. These options act as a “public API” for each host, wrapping complex logic into simple toggles.
- Desktop Modules: Settings for compositors, display managers, and gaming.
- Host Modules: Hardware-level settings (GPU, CPU, DDCCI), boot, and system services.
- Android Modules: Configurations for
nix-on-droid.
How it works: Option vs. Implementation
The modularity is built on a two-step pattern.
1. Setting the Option (Host Level)
Each machine in hosts/ selects its features by setting options defined in the modules. This keeps the host’s configuration.nix declarative and high-level.
# In hosts/desktop-workstation/configuration.nix
{
  host.hardware.ddcci.enable = true; # Enable monitor control
  desktop.games.enable = true;      # Enable Steam & Gaming tools
}
2. Implementation Logic (Shared Level)
The shared modules in hosts/_shared/ use these options to conditionally apply configurations. This is where the actual “heavy lifting” happens.
Example: Hardware Activation (hosts/_shared/boot.nix)
When host.hardware.ddcci.enable is set to true, the shared boot module automatically includes the necessary kernel drivers and modules:
# In hosts/_shared/boot.nix
{ config, lib, ... }: {
  boot = {
    extraModulePackages = [ ]
      ++ lib.optionals config.host.hardware.ddcci.enable [
        config.boot.kernelPackages.ddcci-driver
      ];

    kernelModules = [ ]
      ++ lib.optionals config.host.hardware.ddcci.enable [
        "ddcci_backlight"
        "i2c-dev"
      ];
  };
}
Example: Feature Flagging (hosts/_shared/programs.nix)
Similarly, the desktop.games.enable flag triggers the installation and configuration of multiple related programs at once:
# In hosts/_shared/programs.nix
{ config, lib, ... }: {
  programs.steam.enable = config.desktop.games.enable;
  programs.gamescope.enable = config.desktop.games.enable;
}
Folder Structure Summary
modules/: The Definitions. Defines what options exist and what types they have.hosts/_shared/: The Logic. Defines how system state changes based on those options.hosts/<machine>/: The Consumption. Decides which options to enable for a specific device.homes/: The User. Isolated Home Manager configurations for users, keeping system and user logic separate.
Appearance & Theming
Note
A consistent look and feel across the entire system is a key goal of this configuration. This is achieved through a centralized theming engine.
The modules/appearance directory is the single source of truth for styling. Instead of manually configuring colors for every application, the system uses a data-driven approach powered by matugen-nix.
The Theming Engine: Matugen
Matugen allows us to generate entire color schemes from a single seed color or define static, highly optimized attribute sets.
1. Defining the Source (Appearance Module)
In modules/appearance/default.nix, we set the global style and define custom color sets.
# modules/appearance/default.nix
matugen = {
  enable = true;
  mode = "dark";
  seedColor = "#89b4fa"; # Catppuccin Mocha Blue

  customColors = {
    # Custom palette for terminals and general UI
    palette = {
      dark = {
        bg_base = "#11111b";
        fg_text = "#cdd6f4";
        blue    = "#89b4fa";
        # ... other colors
      };
    };

    # Custom set for mdgreet (Display Manager)
    mdgreet = {
      seed = "#89b4fa";
      schemes.dark = {
        primary = "#89b4fa";
        surface = "#11111b";
        # ...
      };
    };
  };
};
2. Consuming Colors (Real-world Examples)
Once defined, these colors are available system-wide via config.matugen.theme.custom.
Example A: Terminal Colors (Kitty)
We can map the custom palette directly to the terminal’s color scheme. This ensures all terminal emulators share the exact same colors.
# homes/_shared/programs/kitty.nix
let
  inherit (config.matugen) mode;
  palette = config.matugen.theme.custom.palette.${mode};
in {
  programs.kitty.settings = {
    background = palette.bg_base;
    foreground = palette.fg_text;
    color4     = palette.blue; # Blue
    # ...
  };
}
Example B: Display Manager (mdgreet)
The mdgreet tool expects a JSON configuration. We can generate this JSON on the fly using our Nix attribute sets.
# hosts/_shared/services.nix
spawn-sh-at-startup "${pkgs.extra.mdgreet} --config ${
  (pkgs.formats.toml { }).generate "mdgreet.toml" {
    appearance.theme = {
      path = "${pkgs.writeText "theme.json" (
        builtins.toJSON config.matugen.theme.custom.mdgreet
      )}";
    };
  }
}"
Example C: Desktop Shell (DMS)
Similarly, the Dank Material Shell consumes its theme from a JSON file generated from the custom.dms set:
# homes/_shared/programs/dms.nix
xdg.configFile."DankMaterialShell/theme.json".text =
  builtins.toJSON config.matugen.theme.custom.dms;
Benefits of this Approach
- Consistency: Changing a single hex code in
modules/appearanceupdates your terminal, display manager, and desktop shell simultaneously. - Portability: By using
builtins.toJSON, we can support any application that uses JSON or CSS variables for theming, bridging the gap between Nix and standard Linux apps. - Semantic Theming: Instead of using hardcoded “blue”, we use semantic names like
palette.blueormdgreet.primary, making the code easier to maintain.
Secrets Management
Important
Never store sensitive information like passwords, API keys, or private SSH keys in plain text within a public repository.
To securely manage secrets across my devices, I use sops-nix, which integrates SOPS (Secrets OPerationS) directly into the NixOS and Home Manager ecosystems.
Learning Resources
Tip
If you are new to SOPS and NixOS, I highly recommend watching this video by Vimjoyer: Secrets Management in NixOS with sops-nix It provides a very clear and practical explanation of the concepts and workflow.
How it Works
- Encryption: Secrets are stored in encrypted YAML or JSON files within the
secrets/directory. - Key Management: SOPS uses an
.sops.yamlfile in the repository root to define which public keys (Age or GPG) can encrypt/decrypt each file. - Decryption at Runtime:
- NixOS: Secrets are decrypted into
/run/secrets/. - Home Manager: Secrets are decrypted into
$XDG_RUNTIME_DIR/secrets.d/.
- NixOS: Secrets are decrypted into
- Access: Applications point to these paths instead of hardcoded values.
Workflow: Getting Started
1. Generate an Age Key
I use Age for its modern simplicity. Generate a key for your machine:
mkdir -p ~/.config/sops/age
age-keygen -o ~/.config/sops/age/keys.txt
Crucial Step: You must add the public key (the one printed to the console or found in the keys.txt comments) to your .sops.yaml file. Without this, SOPS won’t know how to encrypt files for you.
2. Creating and Editing Secrets
Use the sops CLI to manage files. It automatically handles encryption when you save.
# Create/Edit a host-specific secret
sops secrets/hosts/desktop-workstation/secrets.yaml
3. Registering Secrets in Nix
System Level (hosts/_shared/sops.nix)
sops.defaultHostSopsFile = ../../secrets/hosts/desktop-workstation/secrets.yaml;

# Special case: user passwords needed before user creation
sops.secrets."user-password" = {
  neededForUsers = true;
};
User Level (homes/_shared/sops/default.nix)
sops.defaultUserSopsFile = ../../secrets/homes/stepan/secrets.yaml;
sops.secrets."github-token" = {};
Advanced Tips
neededForUsers: Set this totruefor secrets that must be available before users are created (like the hashed password for the initial user).- Evaluating Code: Remember that secrets are not available during Nix evaluation time. You cannot use
builtins.readFile config.sops.secrets.x.path. You must pass the path to the application. - Updating Keys: If you add a new host key to
.sops.yaml, you must runsops updatekeys <file.yaml>on all relevant files to re-encrypt them for the new key.
Tip
If your age key is stored in a non-standard location, you can point SOPS to it using an environment variable. This is especially useful for one-off commands:
export SOPS_AGE_KEY_FILE=~/.config/sops/age/keys.txt
sops <file.yaml>
Summary of Commands
| Action | Command |
|---|---|
| Generate Key | age-keygen -o keys.txt |
| Edit Secret | sops <file.yaml> |
| View Secret | sops -d <file.yaml> |
| Rotate/Update Keys | sops updatekeys <file.yaml> |
Installation Guide
This section covers the installation process for both physical desktop devices and Virtual Private Servers (VPS).
Caution
The
hardware-configuration.nixfiles in this repository are strictly tied to my specific hardware. Using them directly on different devices will likely fail. You should generate your own hardware configuration or use this repository as a template.
Desktop Installation
1. Prepare Installation Media
Download the latest NixOS ISO from the official download page. You can choose between the Minimal installer or a version with a desktop environment (GNOME/Plasma).
After downloading, write it to a flash drive using a utility like dd, BalenaEtcher, or Rufus.
2. Partitioning (Example with LVM)
I prefer LVM for flexibility, but you can use simple partitions (just / and /home, or even a single / root).
# Create partition table and basic partitions
parted /dev/nvme0n1 mklabel gpt
parted /dev/nvme0n1 -- mkpart EFI fat32 1MB 10GB
parted /dev/nvme0n1 -- mkpart SYSTEM 10GB 100%
parted /dev/nvme0n1 -- set 1 esp on

# Setup LVM
pvcreate /dev/nvme0n1p2
vgcreate vg0 /dev/nvme0n1p2
lvcreate -L30G -n root vg0
lvcreate -L30G -n home vg0
lvcreate -L20G -n docker vg0
lvcreate -L10G -n swap vg0

# Formatting
mkfs.ext4 -L root /dev/vg0/root
mkfs.ext4 -L home /dev/vg0/home
mkfs.ext4 -L docker /dev/vg0/docker
mkswap -L swap /dev/vg0/swap

# Mounting the target system
mount /dev/disk/by-label/root /mnt
mkdir -p /mnt/{boot/efi,home,var/lib/docker}
mount /dev/disk/by-label/EFI /mnt/boot/efi
mount /dev/disk/by-label/home /mnt/home
mount /dev/disk/by-label/docker /mnt/var/lib/docker
swapon /dev/disk/by-label/swap
3. Hardware Configuration
Since your hardware will differ, you should generate a base configuration:
nixos-generate-config --root /mnt
Then, you can copy the generated /mnt/etc/nixos/hardware-configuration.nix into the appropriate host directory in this repository (e.g., hosts/your-host/).
4. Install from Flake
In the live environment, you can enable flakes temporarily using an environment variable without modifying read-only system files:
export NIX_CONFIG="experimental-features = nix-command flakes"
Run the installation targeting a specific host:
nixos-install --flake github:MOIS3Y/nixos-configurations#laptop
VPS Installation
Installing NixOS on a VPS often requires manual steps through a VNC console. Most VPS providers use Legacy BIOS (MBR) instead of UEFI.
1. Boot into ISO
Mount a NixOS ISO in your provider’s control panel and access the machine via VNC.
2. Manual Network Setup
If DHCP is not available, configure the network manually:
# 1. Identify your interface (e.g., ens3)
ip link

# 2. Assign IP address
ip addr add 1.2.3.4/24 dev ens3
ip link set ens3 up

# 3. Add default gateway
ip route add default via 1.2.3.1

# 4. Configure DNS
echo "nameserver 1.1.1.1" > /etc/resolv.conf
3. Partitioning (Legacy BIOS / MBR)
For a simple VPS setup without EFI, we use a MBR label and a single root partition with a swap file or partition.
# Create MBR partition table
parted /dev/vda mklabel msdos
parted /dev/vda -- mkpart primary ext4 1MB 100%
parted /dev/vda -- set 1 boot on

# Formatting
mkfs.ext4 -L nixos /dev/vda1
# (Optional) Create swap partition if needed
# mkswap -L swap /dev/vda2

# Mounting
mount /dev/disk/by-label/nixos /mnt
4. Installation
Enable flakes and run the installation. Ensure your boot.loader.grub.device points to the correct disk (e.g., /dev/vda).
export NIX_CONFIG="experimental-features = nix-command flakes"
nixos-install --flake github:MOIS3Y/nixos-configurations#gliese
5. Post-Install
After reboot, unmount the ISO in the provider’s panel so the VPS boots from the disk.
Changelog
All notable changes to this project will be documented in this file.
[26.05.1] - 2026-05-16
🛠️ Configuration
- (niri) Migrate to brightnessctl and refine touchpad settings
- (niri) Migrate media and brightness controls to dms IPC
📚 Documentation
- (style) Add docstrings and clean up ASCII headers
[26.05.0] - 2026-05-15
Changed
- nix: Transitioned to formal versioning (
YY.MM.Patch) for stable configurations. - nix: Optimized build reliability by removing global Cachix substituters.
- nix: Refactored Flake inputs to strictly follow system
nixpkgs.
Added
- dev: Integrated
git-clifffor automated changelog management. - docs: Linked the project changelog directly into the
mdbookdocumentation.
Project State (Initial Versioning)
- WM/Compositor: Niri (Wayland tiling compositor).
- Desktop Shell: Dank Material Shell (DMS) with Material Design 3.
- Login: greetd + custom
mdgreet(Material Design greeter). - Theming: Unified Catppuccin Mocha aesthetic powered by
matugen. - Secrets: Encrypted data management via
sops-nix. - Infrastructure: Modular NixOS & Home Manager setup for multiple devices.
Afterword
If you’ve made it this far, thank you for exploring my configuration!
This documentation doesn’t cover every single line of code or explain every module in detail. Instead, I’ve focused on the most important parts—the parts that go beyond standard NixOS modules and define the unique “flavor” of this setup.
A Note for Beginners
If you are new to Nix and some of this feels overwhelming, don’t worry. It’s perfectly normal. You don’t need to start with a complex modular architecture or a custom-themed Wayland compositor.
Tip
Start simple. Enable a default desktop environment like GNOME or KDE with just a couple of lines. As you get comfortable, start expanding your configuration. When a file starts feeling too large or cluttered, move parts of it into separate files. Understanding Nix expressions and the module system comes naturally with practice.
My Philosophy: Simplicity over Over-engineering
Over my three years of using NixOS, I’ve learned an important lesson: don’t chase the DRY (Don’t Repeat Yourself) principle at any cost.
In Nix, building complex logic to calculate whether an attribute should be enabled or disabled can often lead to a “dependency hell” in your head. Sometimes, a bit of duplication is actually a good thing.
Why I Choose Duplication
For my servers, I usually copy only the styling from the shared configuration and keep the rest separate.
- Independence: My hosts don’t rely heavily on each other’s logic.
- Maintainability: When I need to change something globally, I don’t have to spend hours untangling a web of inter-host dependencies. Future me always says “thank you” when a change is isolated and easy to reason about.
Organization by Attribute
You might notice that my system modules are mostly split by their root attribute (e.g., services.nix, programs.nix).
- I find this much more intuitive than thematic naming.
- If I need to change a service setting, I know exactly where it is: in
services.nix. No need to remember which “theme” or “sub-category” I tucked it into.
Note
The exception to this rule is Home Manager. Since HM modules often involve long and complex configurations for specific tools, I split them by the program or service name (e.g.,
alacritty.nix,zsh.nix). This makes them far easier to read and maintain individually.
Final Words
I strive to keep this configuration as simple as possible. It’s a living project that evolves with my needs. I hope you found something useful here to “yank” into your own setup.
Happy Nixing! ❤️